

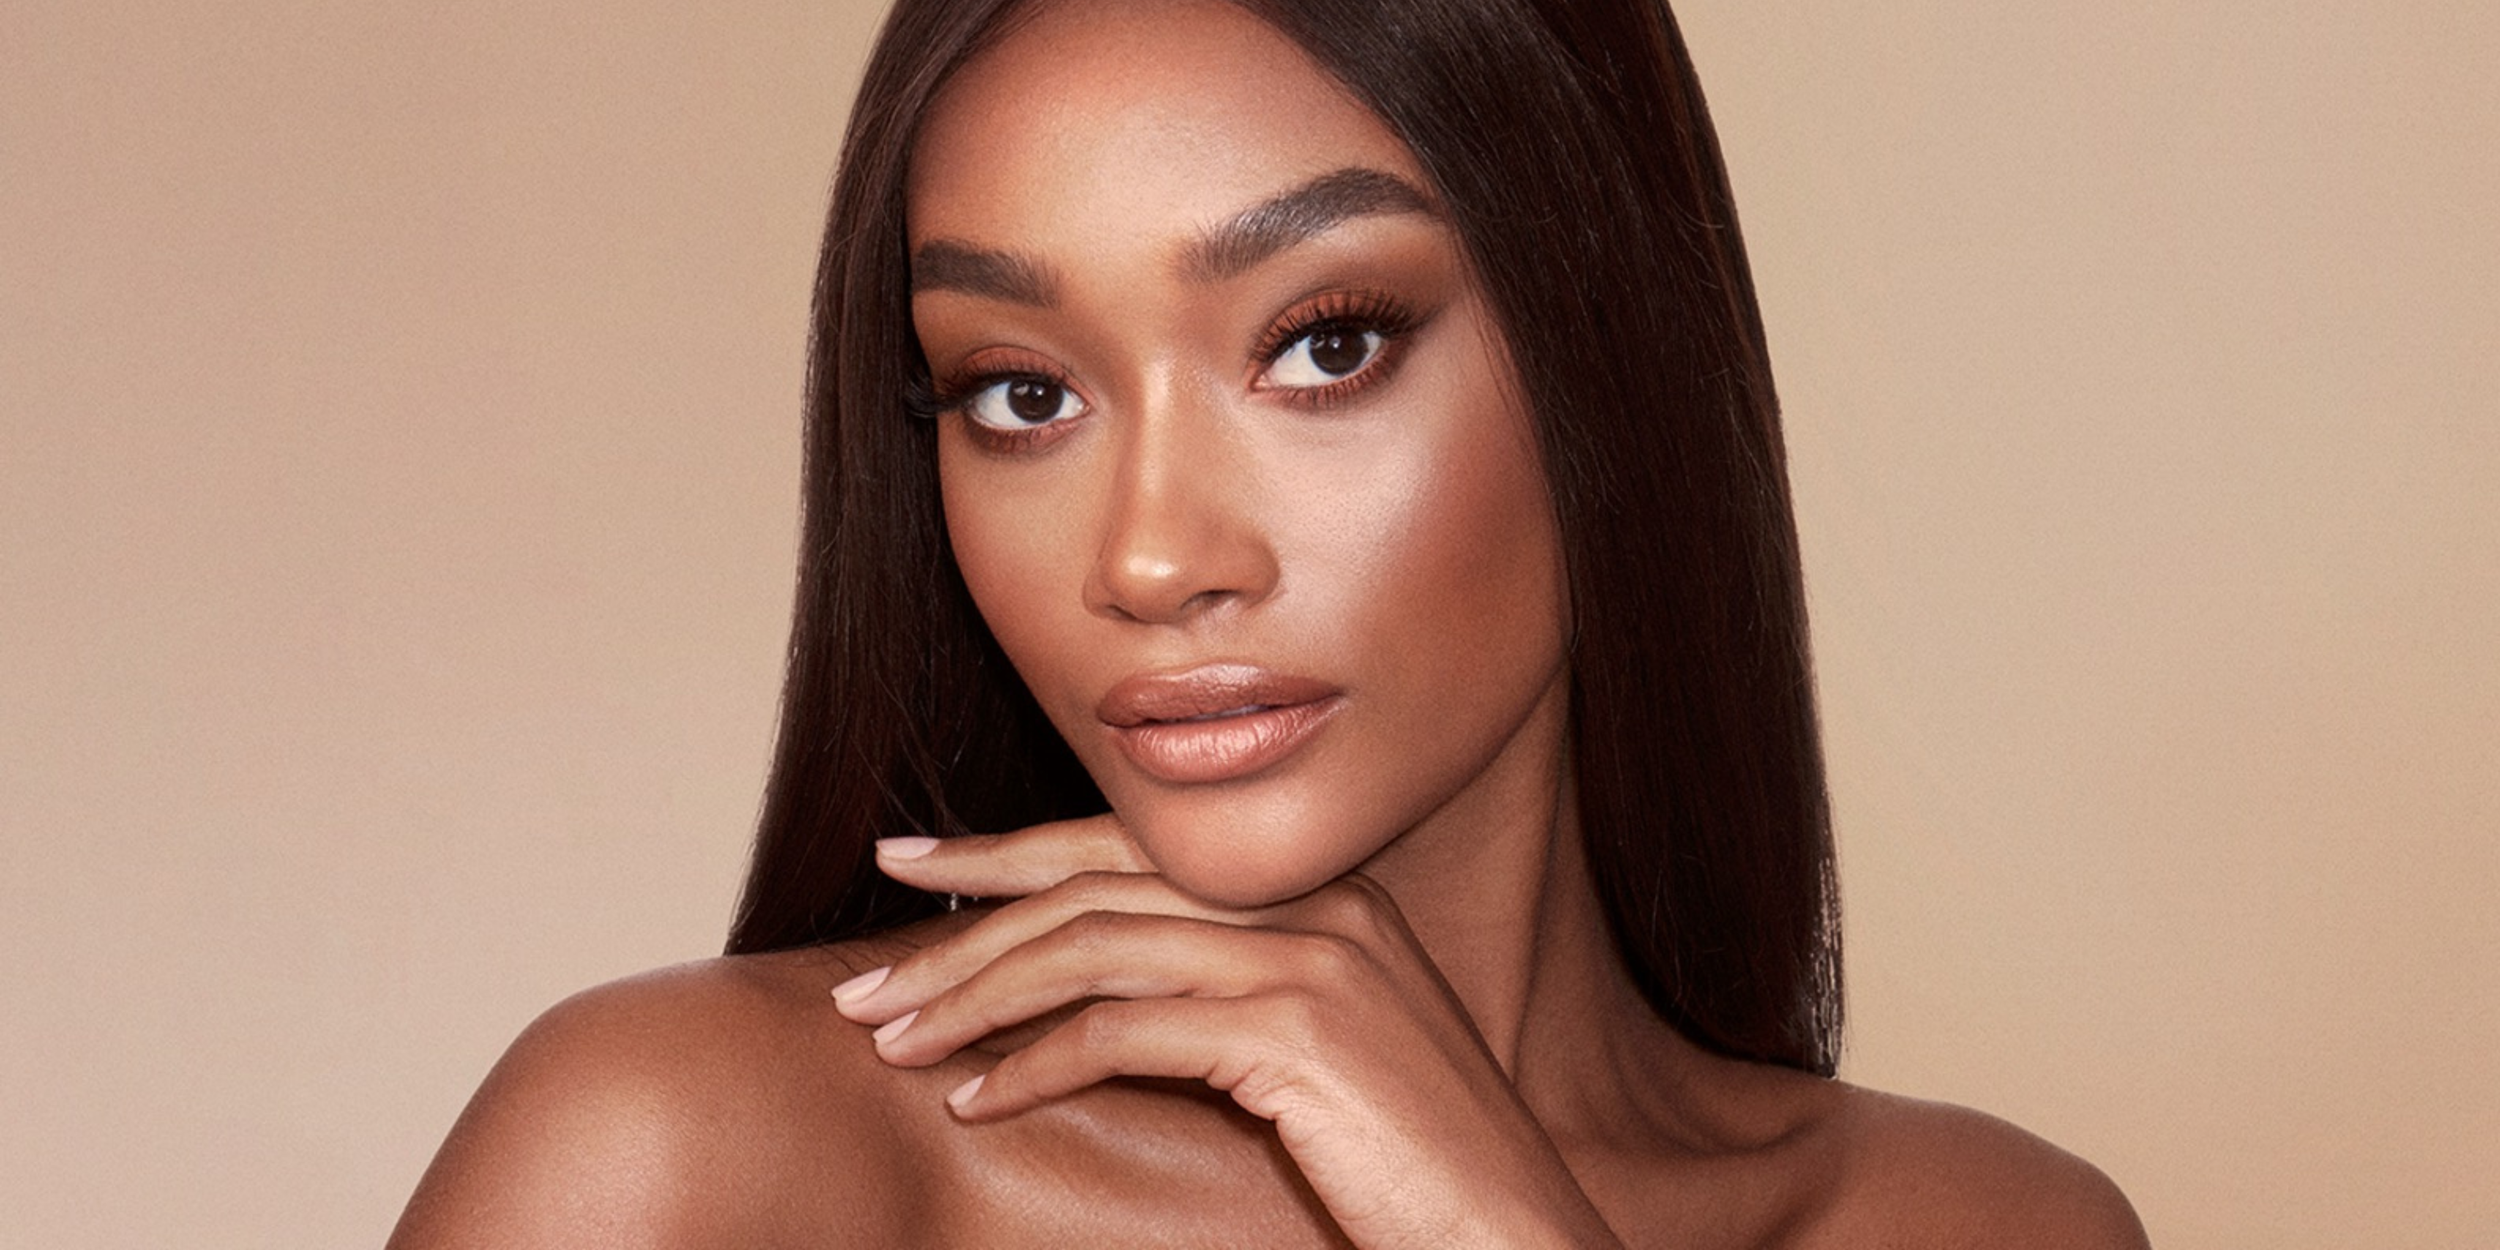
CONTOUR AND HIGHLIGHT TIPS FOR YOUR FACE SHAPE


WHAT DOES CONTOUR AND HIGHLIGHT MAKEUP DO?
Makeup Artist Bobbi Brown said it best in her online Master Class: "Contouring is a technique for sculpting and adding dimension to your face by using makeup that is slightly darker or lighter than your actual skin color. Unlike everyday foundation and concealer, which we typically want to match our skin exactly, contouring is all about creating the effect of shadow and light."
WHAT'S THE DIFFERENCE BETWEEN CONTOUR AND HIGHLIGHT?
CONTOUR: Contour is not just used under the cheekbone or on the jawline to "contour" the face like you might see some makeup artists do on Youtube or Instagram. It's a way to create shadow, depth and softness in areas that need some help. It helps to create balance on the face, but not in an obvious way. But this is where you have to be careful about the angles that you are creating. If someone has a very angular face such as a square or rectangular shape, adding more sharp lines will just accentuate everything. Bringing in curves and softness will create a balance to the shape, making the face more visually pleasing. And the opposite can be said for very round faces. Again, it's all about creating balance.
HIGHLIGHT: With today's makeup trends, when someone say's the word highlight, you usually think of a shiny, glittery, or glossy product that you swipe on your cheekbones to create glow. But it the artistry world, highlight means something completely different. A highlight on the face is the addition of a lighter color in areas in which you want your face or features to come forward or "pop". It's also a way of creating a place for people to focus on. It's accentuating an area to say "look over here". That's where a bit of optical illusion comes into play. And we use flesh toned colors as highlight, not a glitter or shine product. Those are perfectly lovely products, but are not what are being referenced here.
WHY DO I NEED TO KNOW HOW TO CONTOUR AND HIGHLIGHT FOR MY SPECIFIC FACE SHAPE?
When you contour and highlight the face, it creates shape and dimension where features tend to look flat and dull or too big and full. To me, the art of makeup is all about creating an optical illusion with products. The reason it is important to learn how to contour and highlight for your specific face shape is so you can create a look that is flattering and not forced. When you use the contour and highlight technique in the wrong way, you create shapes and angles that might age you, be too harsh, bring out or subdue the wrong features, or just create angles or curves that don't work for you personally. And who out there is wanting to look older, aged, and harsh? I know I don't!
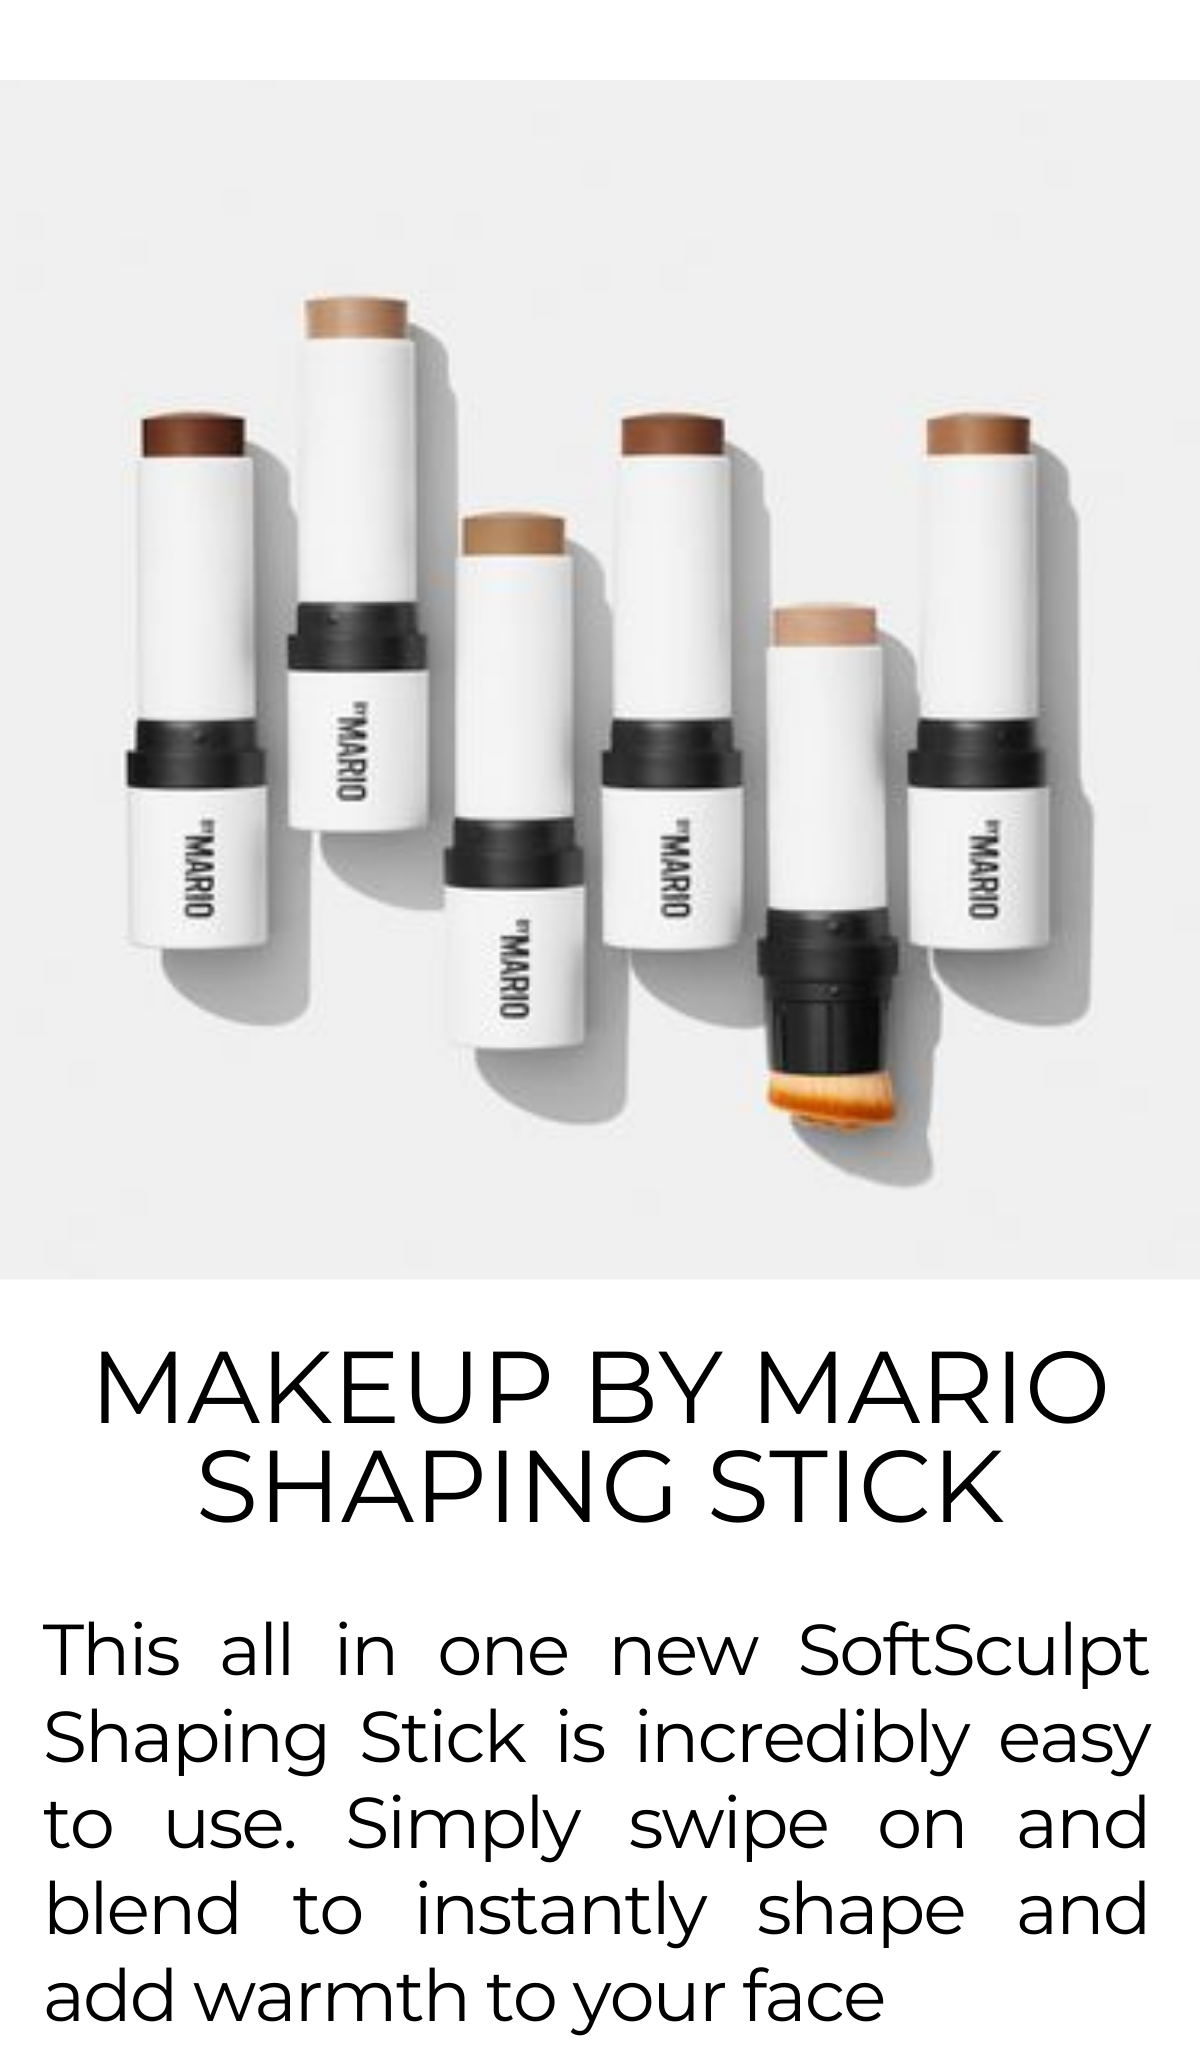
WHAT KIND OF PRODUCTS DO I NEED TO CONTOUR AND HIGHLIGHT MY FACE, AND HOW DO I SELECT THEM?
It does not take heavy handed techniques or products to achieve a natural and flawless look. The more extreme the tones are you have selected for your contour and highlight, compared to your natural skin tone, the more glamorous or "made up" a look will become. So to create a more natural sculpted look, you want to choose colors that are about 1-2 shades lighter and darker than your foundation color. This way, we are adding a subtle dimension and depth, not one that stands out on purpose.
You can create your look with many different kinds of products, but the key is staying consistant with the textures that you are layering. For example, using different shades of foundation is a great way to produce a blended and soft look because the products are the same. If you prefer a cream foundation, cream contour and highlight sticks are a perfect option. Powder foundation? Powder contour and highlight. You get the drill. Will you upset the makeup god's if you use a cream contour with a liquid foundation? Nope! But it might be a bit trickier to blend, or to get a natural result. Sometimes it's all about playing with the products you have and seeing what combination works best for the look you are trying to achieve and your features. I love using concealer's on liquid and cream foundations! But they do tend to give a bit more of a "done up" look if used to heavy handed. So I use them sparingly and I'm always sure to blend, blend, blend!
Here are some of my favorite products that I use on both myself and my celebrity clients:
LIQUID


CREAM


POWDER


WHERE TO PLACE YOUR CONTOUR AND HIGHLIGHT FOR YOUR PERSONAL FACE SHAPE
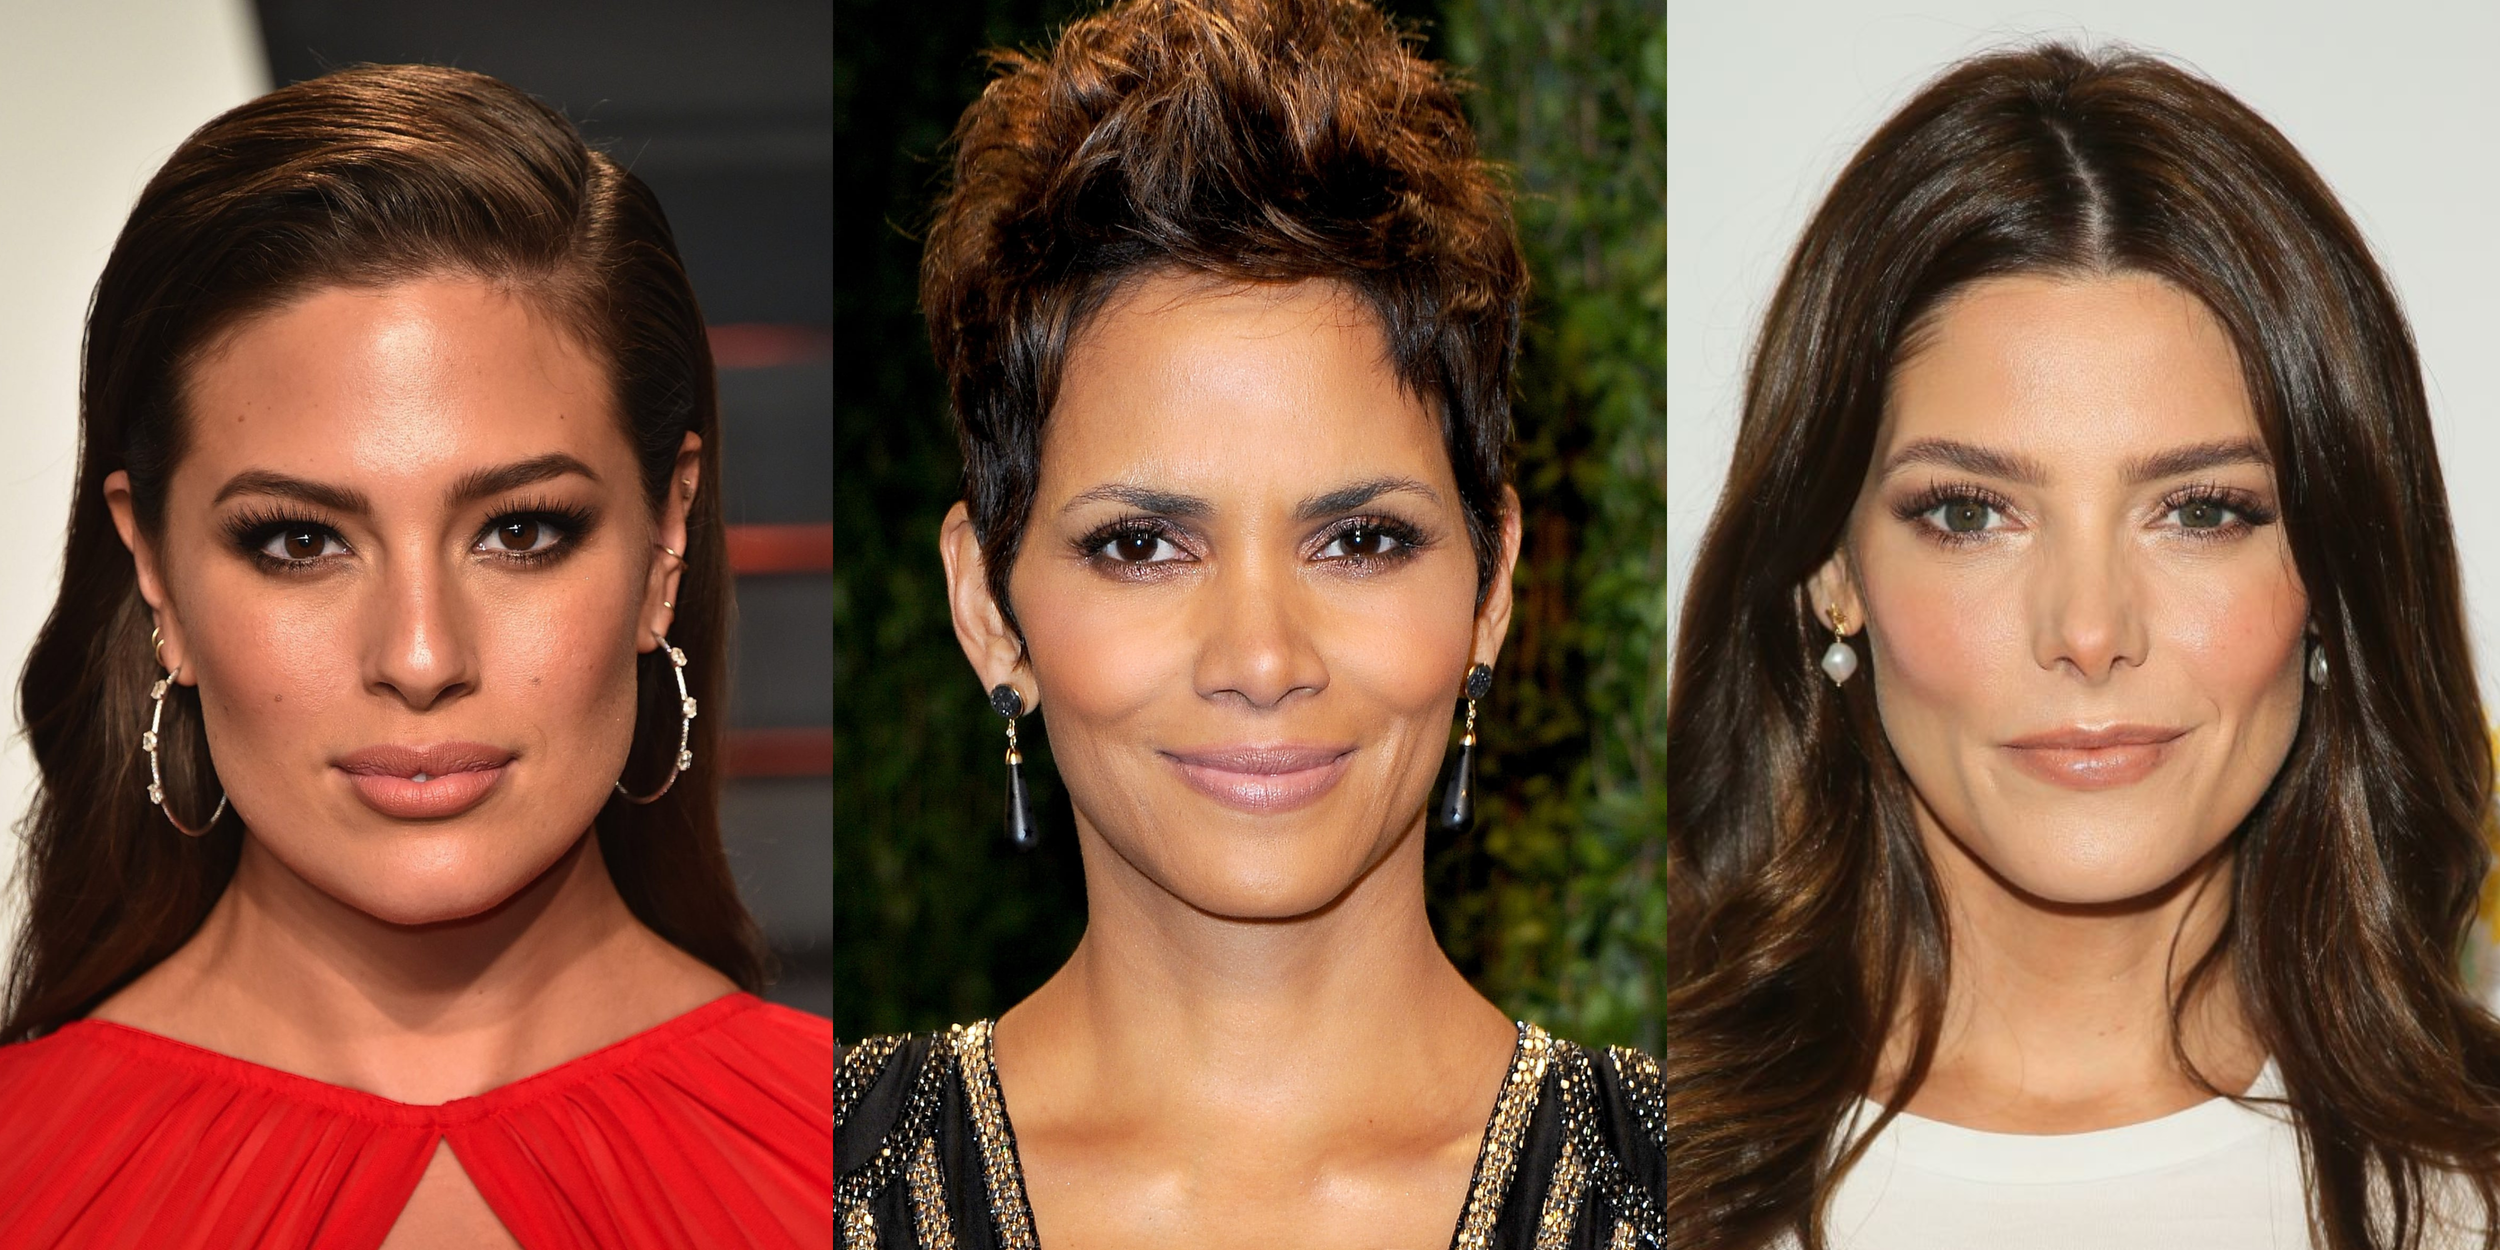
OVAL

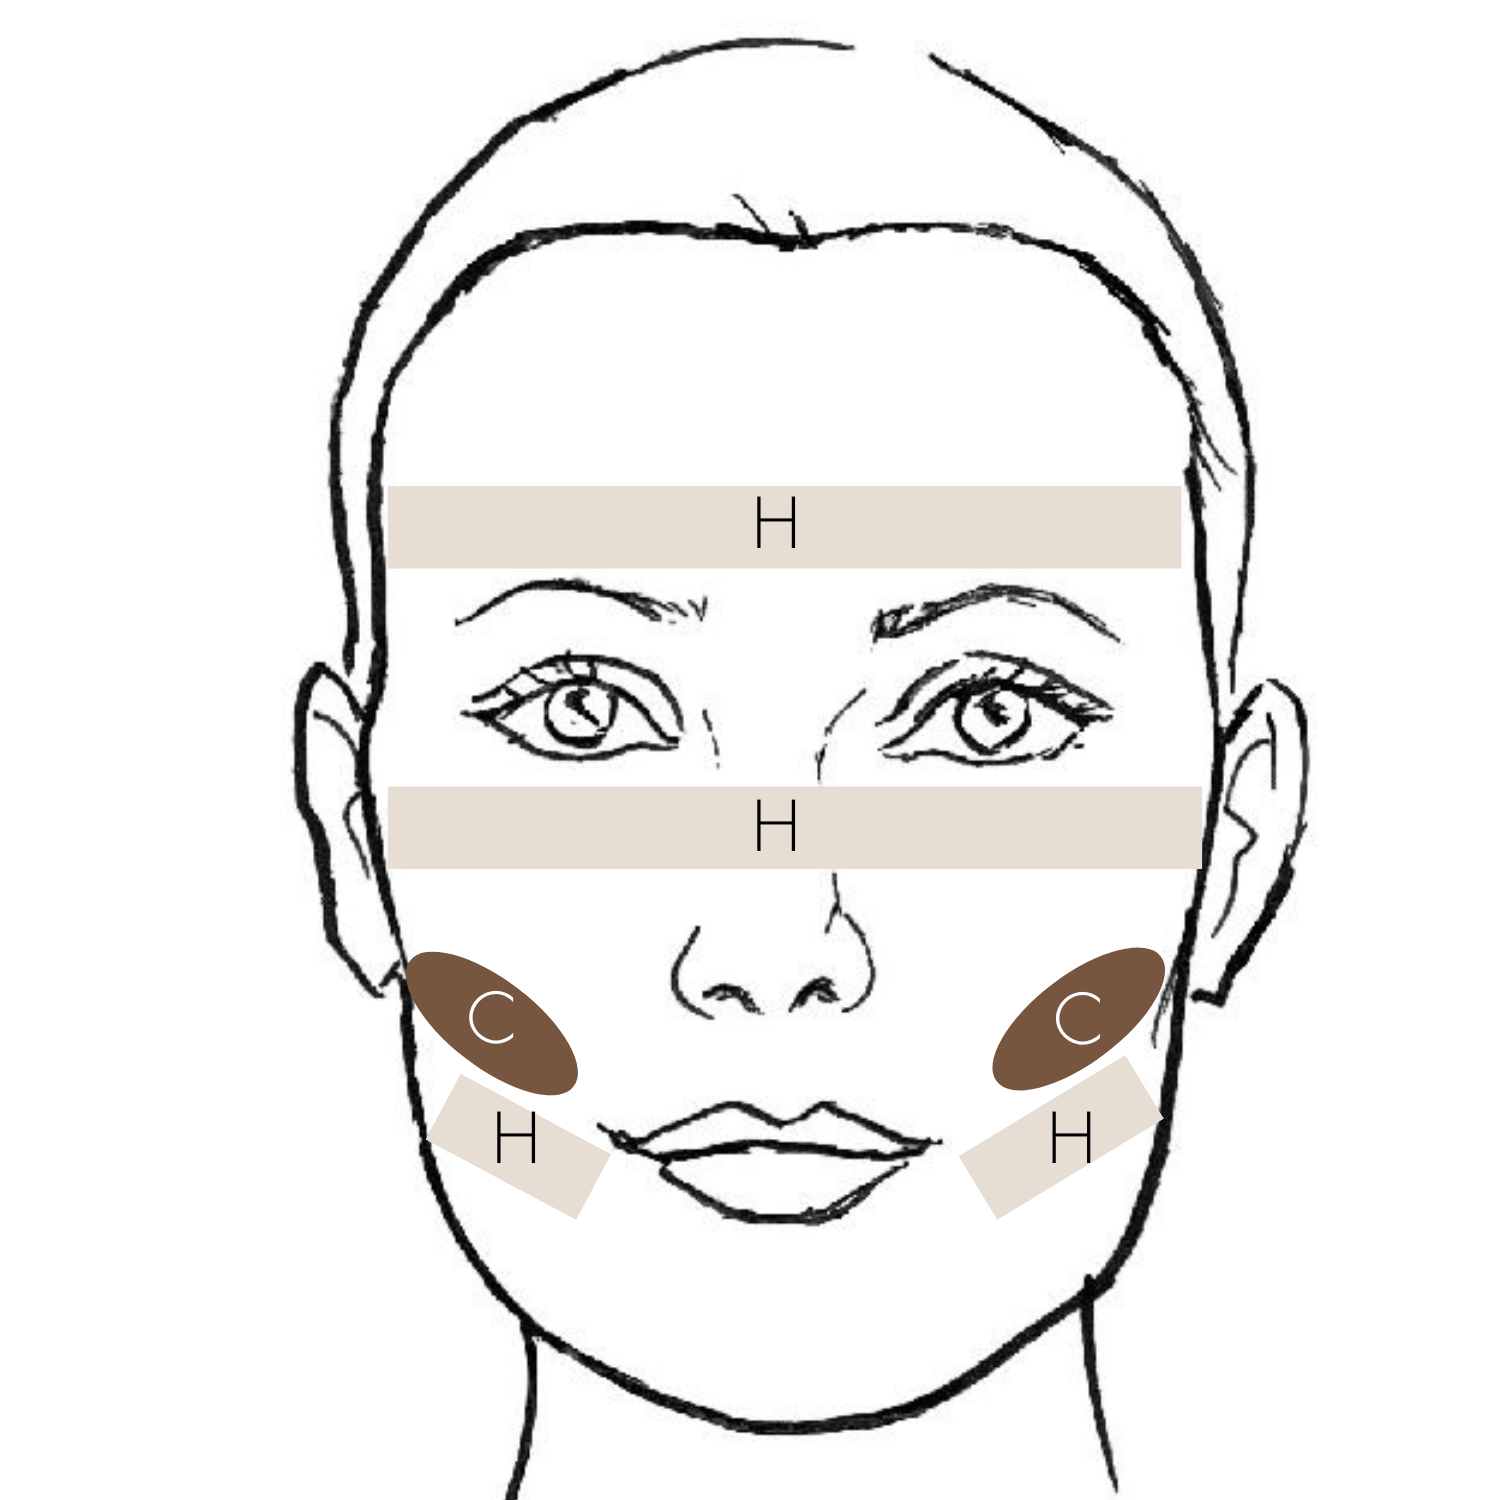
In the world of face shapes, the oval structure is considered ideal! If you have this face shape, congratulations, you fall under the "traditional" contour and highlight routine that almost everyone else is doing that does not work for them. But for you, it fits like a glove! The goal is to continue to keep the balanced structure you have been blessed with. There is minimal contour happening, except at the lower cheekbones to keep things looking nice and chiseled. If anything, bringing more length and width by highlighting down the center and at the tops of the cheekbones will only add to the loveliness. Keep up the good work!


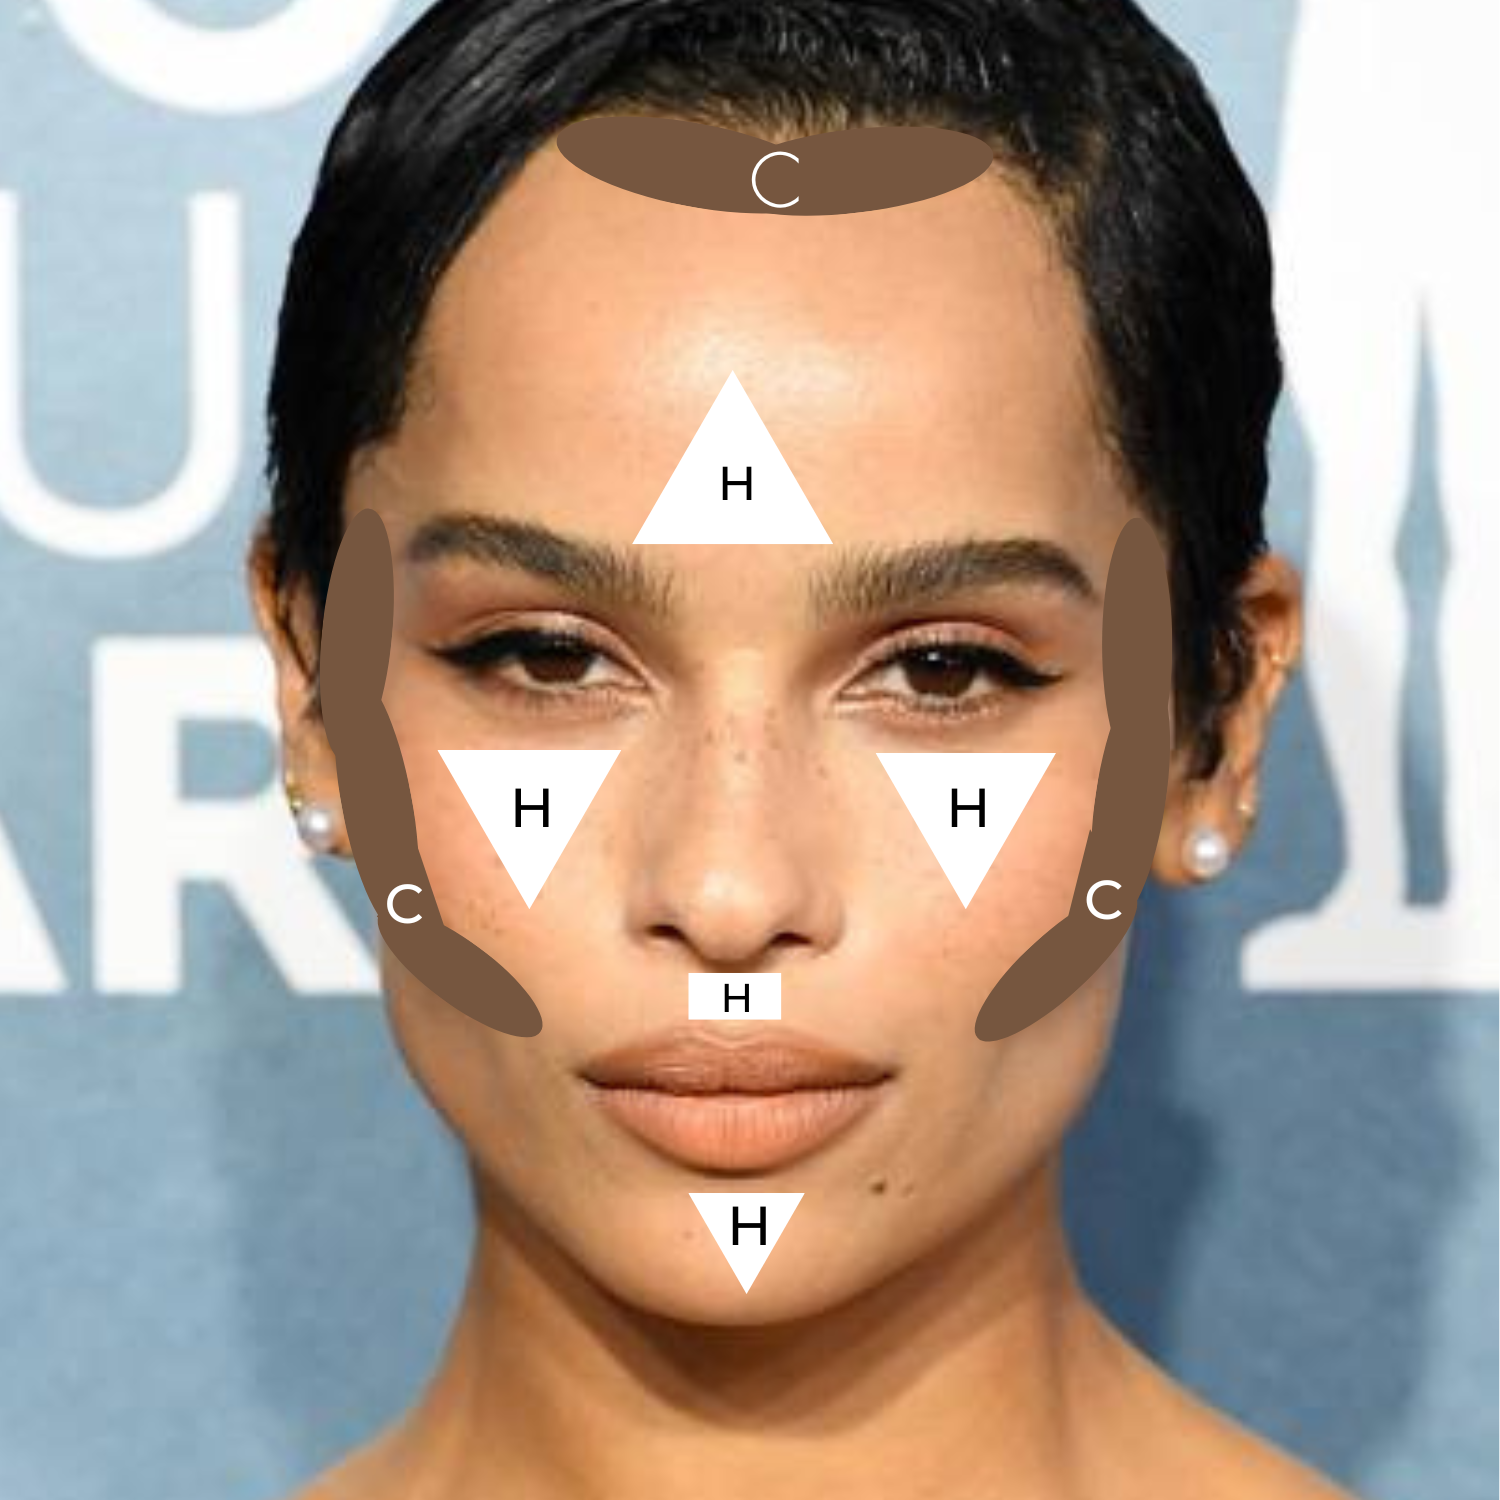
The goal with a round face is to create angles to balance out the circular curves, and to also try and create length since the face tends to be more petite. By contouring the outer curves of the face in the way it's pictured below, you are creating an illusion of length and depth, forcing the eye towards the center of the face. You never want to contour the top of the hairline or the chin because it will almost "shave off" length and continue the circular petite look we are trying to re-balance. When you highlight the face, you want to keep things straight up and down at the center, again balancing the roundness. The angled highlight on the top of the cheekbone will pull the face upward, giving lift and structure. You can see with the end result on the right that she has almost a rectangular lightness in the center from hairline to chin, creating an optical illusion of length.


Similarly to the round face shape, the square face tends to be more petite, thus not having as much room to play with. The goal is to open up the features, giving a sense of length and leanness, with the end result creating balance through proper contour and highlight placement. By contouring the outer angles of the face in the ways pictured below, you are creating an optical illusion of length and depth, forcing the eye towards the center of the face. When placing the contour at the corners of the hairline and jawline, you want to avoid sharp lines. Creating more of a curved contour shape will help to "shave off" the squared angles of the face shape, while adding the roundness and curve that is missing. You never want to contour the top center of the hairline or the chin because it will shorten the length and continue the petite look we are trying to re-balance. When you highlight the face, you want to keep things at the center, creating the optical illusion of bringing the features forward, while “pushing” the sides back. You can see with the end result on the right that she has almost an oval shaped lightness in the center from hairline to chin, creating length and a soft curve.


The goal with the oblong face is to create width since this face shape tends to be long and slim. By highlighting in a horizontal placement, you are creating an optical illusion of width. This face shape also tends to have a hollowness under the cheekbones that can look a bit sharp and angular. By keeping the contour horizontal, you will help to create balance in this area. A traditional angled downward contour could add even more angles and slimness to the face, which we do not want. If you look at the results photo on the right, you can see that there is almost no contouring done to her face because as stated before, contour has a slimming effect, which the oblong face shape has naturally. Also since the oblong face is curved and rounded, it's best to place highlights in a linear fashion to help balance out the curves that are present.


The goal with the rectangle face is to create width since this face shape tends to be long and slim. By highlighting in a horizontal placement, you are creating an optical illusion of width. This face shape usually is the same slim width from hairline to jawline. By placing the contour in a diagonal and rounded fashion under the cheekbone, you are not only breaking up the equal width structure, but also bringing balance to the straight and squared features. If you look at the results photo on the right, you can see that there is almost no contouring done to her face because as stated before, contour has a slimming effect, which the rectangle face shape creates naturally. With the horizontal highlighting you are opening up the face and bringing the features across and forward.


The heart face shape tends to have a lot of diverse structures happening all at once. With the wide set forehead and hairline that then tapers into a petite jawline and pointed chin, it makes for an interesting mixture of contour and highlight options. The goal is to balance out the width while bringing slim features forward and horizontal. The heart face is usually on the medium to petite side, so we want to create length in the center. By not contouring the very top center of the hairline, it gives the illusion of upward motion and slimness. But when you contour the outer edges of the hairline and forehead, it creates shadow in those areas, thus pushing those features around and towards the back. Highlighting the upper and lower parts of the cheekbone in a horizontal fashion gives a sense of width and balance. If you have a very pointed and narrow chin, you may want to consider doing a light contour to "shave off" some length. But use the product sparingly or you might walk out the door with what looks like the growth of new beard stubble!


The diamond face shape tends to be more angular but has a lovely balance with wide cheekbones and a tapered hairline and chin. The goals with this face are minimal, but keeping the highlight centered will add length to a structure that can be wide. By starting contour up higher on the cheekbones and bringing it down to a rounded horizontal placement you will disrupt the sharp angles of the pointed cheekbones and create balance. There are times when the diamond face can have a long forehead, so by adding contour at the top center of the hairline, it can help shorten the length. But you don't want to put contour on the outer corners of the hairline, as this will accentuate the narrowness of the tapering effect that is happening from the cheekbones upward.


The goal with the triangle face shape is to limit the width that is happening at the jawline, and add length through the center of the face. Triangle face shapes tends to be more petite and can have short foreheads. That's why you want to keep more of the contour and highlighting on the lower half of the face. By contouring in a more vertical fashion at the jawline and cheekbones, you are bringing balance to areas that are usually rounded or strong. If you find you have a more wide or pointed chin, you may want to consider doing a light contour to "shave off" some length or width. But use the product sparingly or you might walk out the door with what looks like the growth of a new beard! You also want to keep the highlight focused right at the oval center of the face to bring those features forward, creating an optical illusion of re-balance and structure.


Want to learn where to place your blush based on your triangle face shape? TEACH ME MORE